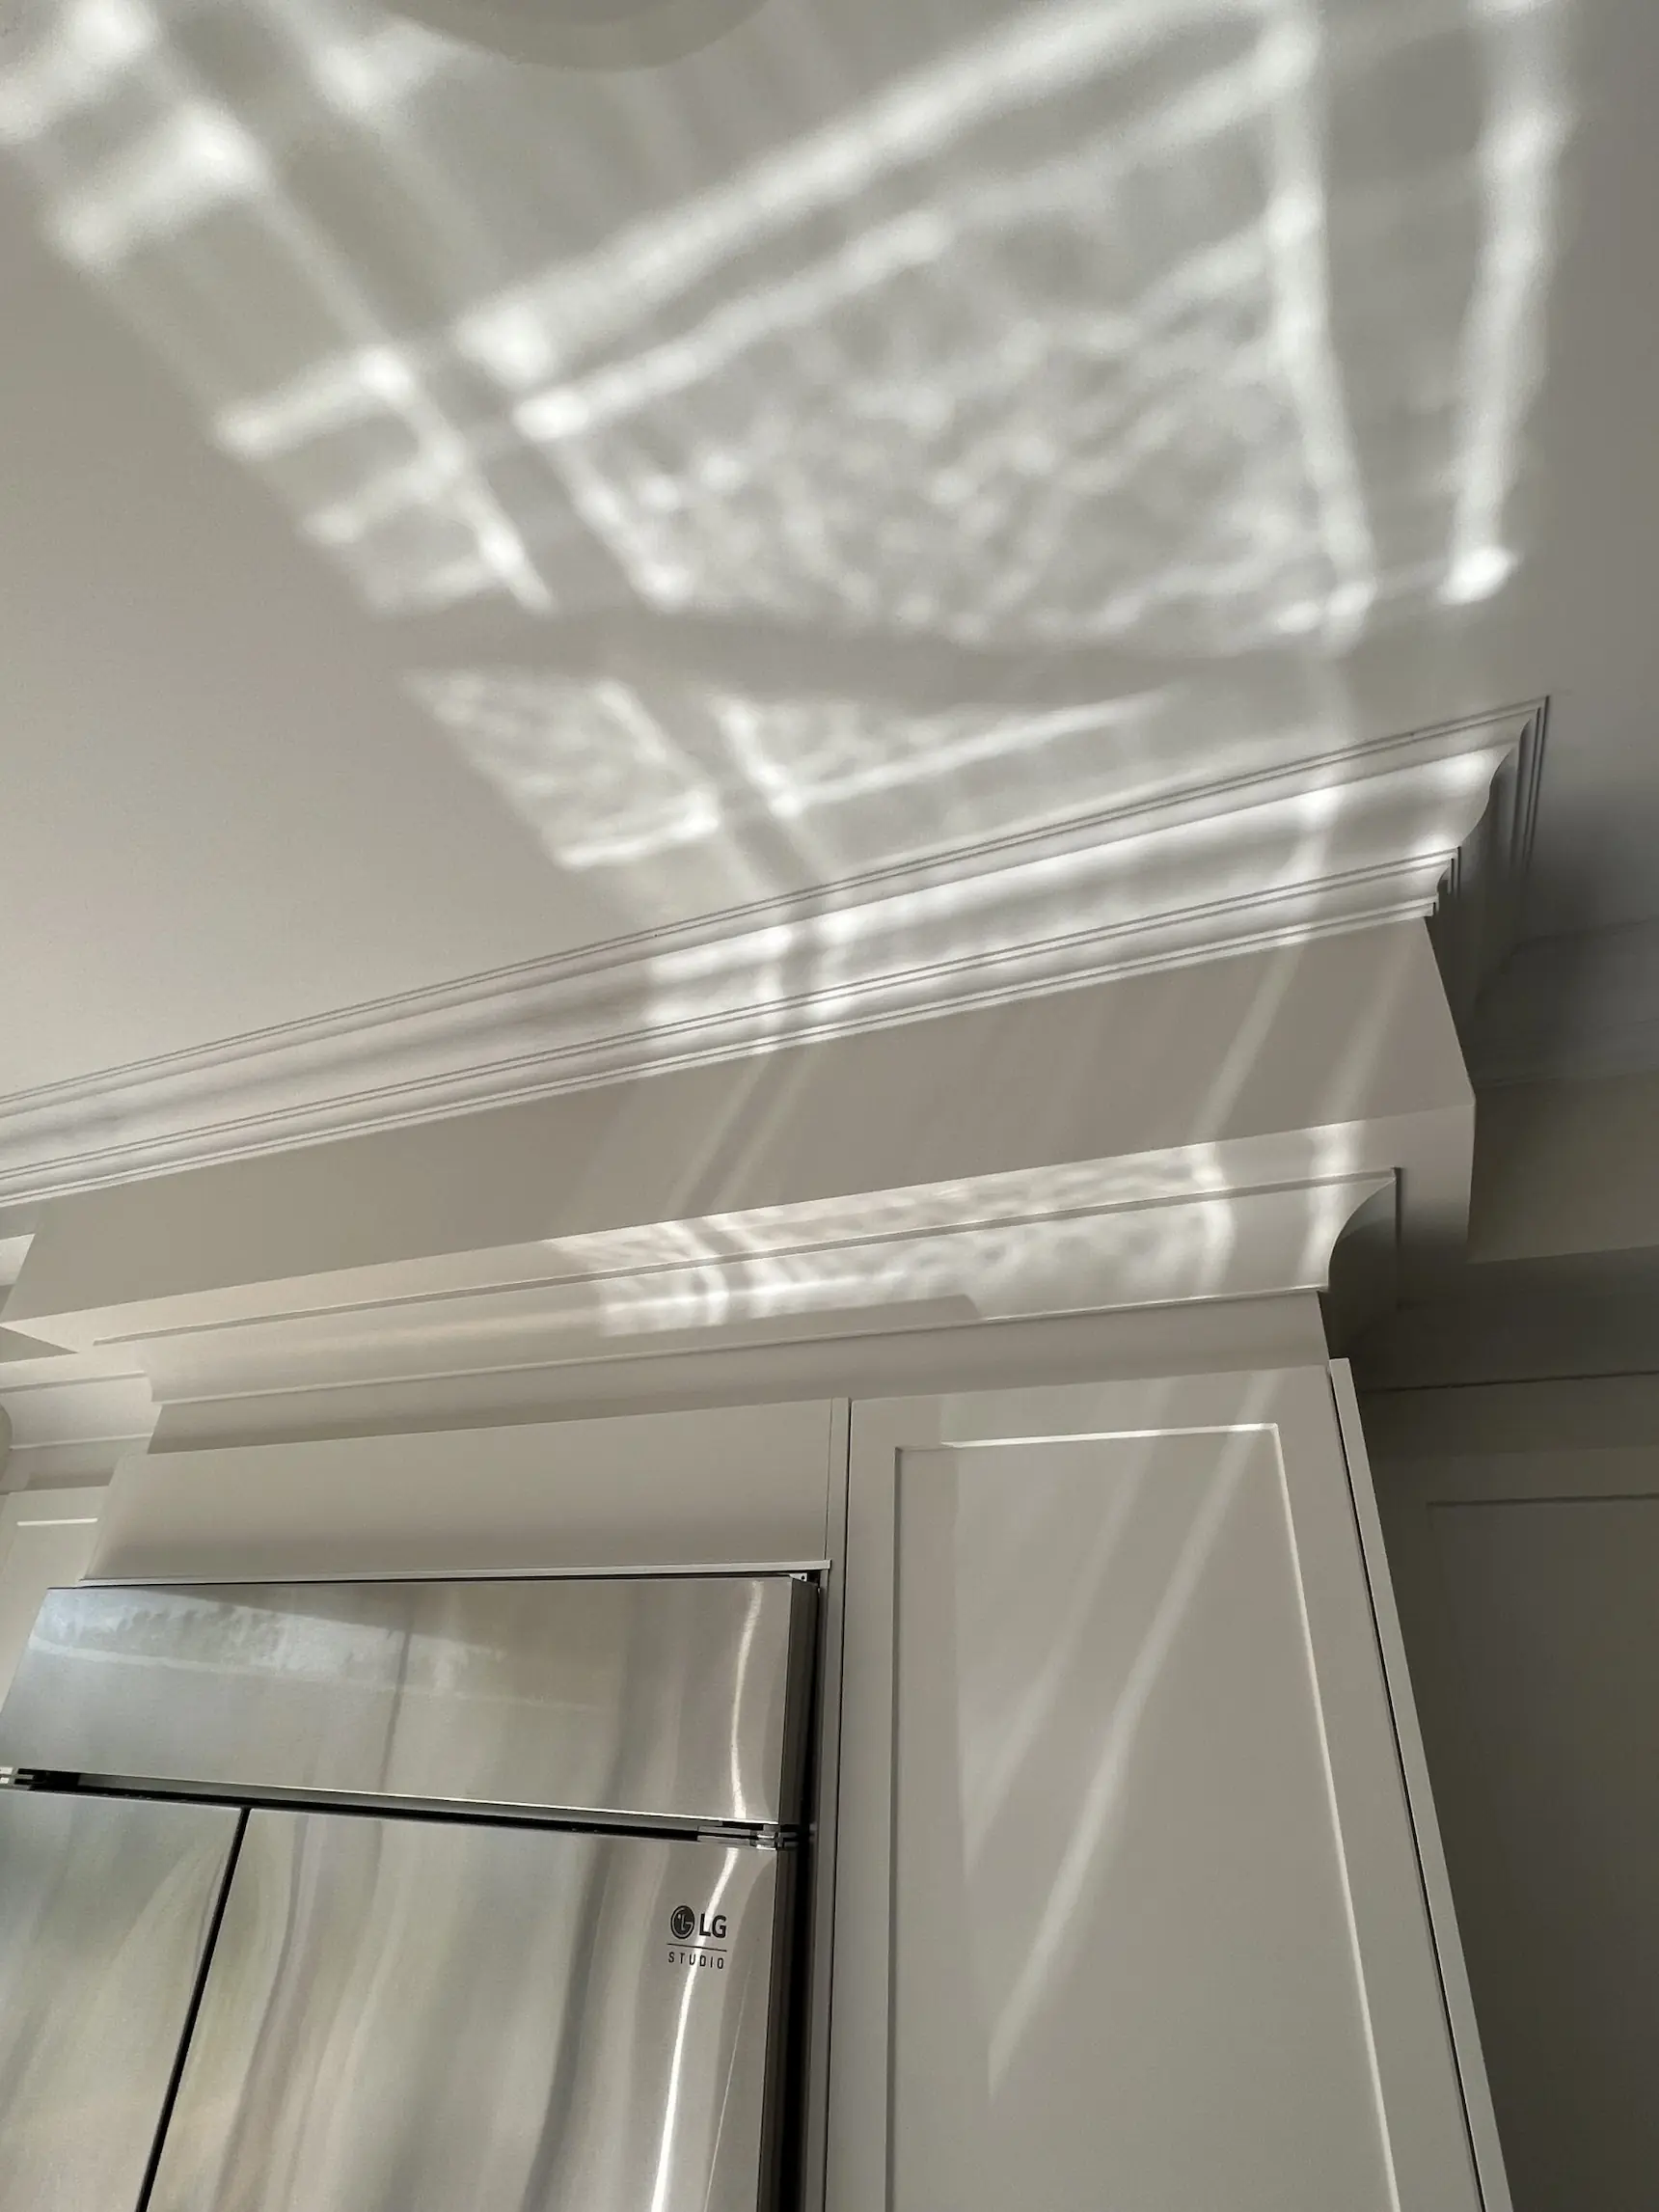
Crown moulding adds a touch of elegance to any room, and the key to a successful crown moulding installation lies in careful planning and precise execution. Whether you have high ceilings or standard ones, this do-it-yourself guide will walk you through the process, ensuring a polished finish that enhances your living space. If you have a question “How to install crown moulding” this article is for you.
Moulding Materials and Tools that you need
- Crown moulding
- Measuring tape
- Miter saw
- Coping saw
- Nail gun or hammer and finishing nails
- Wood glue
- Sandpaper
- Caulk
- Paint or stain (optional)
How to install crown moulding step by step
When it comes to crown moulding, the height of your ceiling determines the size you should use. For ceilings of 10 feet or higher, consider a base mould/crown mould combination. Opt for 3- or 4-inch crown moulding for 8-foot ceilings. If you’re unsure about the best choice, you can ask us. Our company has a great experience in trim work. It is also important that the moulding materials to be very quality. Measure the length of each wall where you plan to install crown moulding. This will help you determine how much moulding you need. Then choose a wall with inside corners on both sides, preferably a shorter wall that requires only one piece of moulding.
Then you need to measure the wall length and cut the first piece of crown moulding with a 90-degree “butt” cut. Today, we have a secret for you. If you want to do moulding works by yourself use a miter box for precision cuts. Pay attention to the cut direction and moulding position on the saw for accurate results. Then apply wood glue to the back of the moulding along the cut edges. Press the moulding into place, ensuring a snug fit against both walls. Repeat the process for each additional piece, mitering corners as needed and coping inside corners. Use wood glue and nails to secure each piece in place.
Remember to take your time with measurements and cuts to ensure a precise fit. If you’re unsure about any step, it’s always a good idea to consult online tutorials or seek advice from professionals. RD Group Services Carpentry is ready to help you any time. Just call us or text a message. We are also into Instagram and Facebook.

